Don’t take that first trip without them!
So you’ve been to the RV dealer or online and finally decided on that new or used rig that you can’t wait to get on the road? It’s SO exciting! Are you ready to take it home and park it or are you anxious to make due on that first-ever camping reservation? Take a look at these items below with links and see what you should have in your cart before (or immediately after) you sign on the dotted line and why. (If you are towing, be sure to get the appropriate-sized hitch for your rig and tow vehicle. We won’t go over that today.)
As an Amazon Associate, we earn from qualifying purchases (at zero cost to you) and may receive a small commission for links to Amazon. Read our Disclaimer Policy here
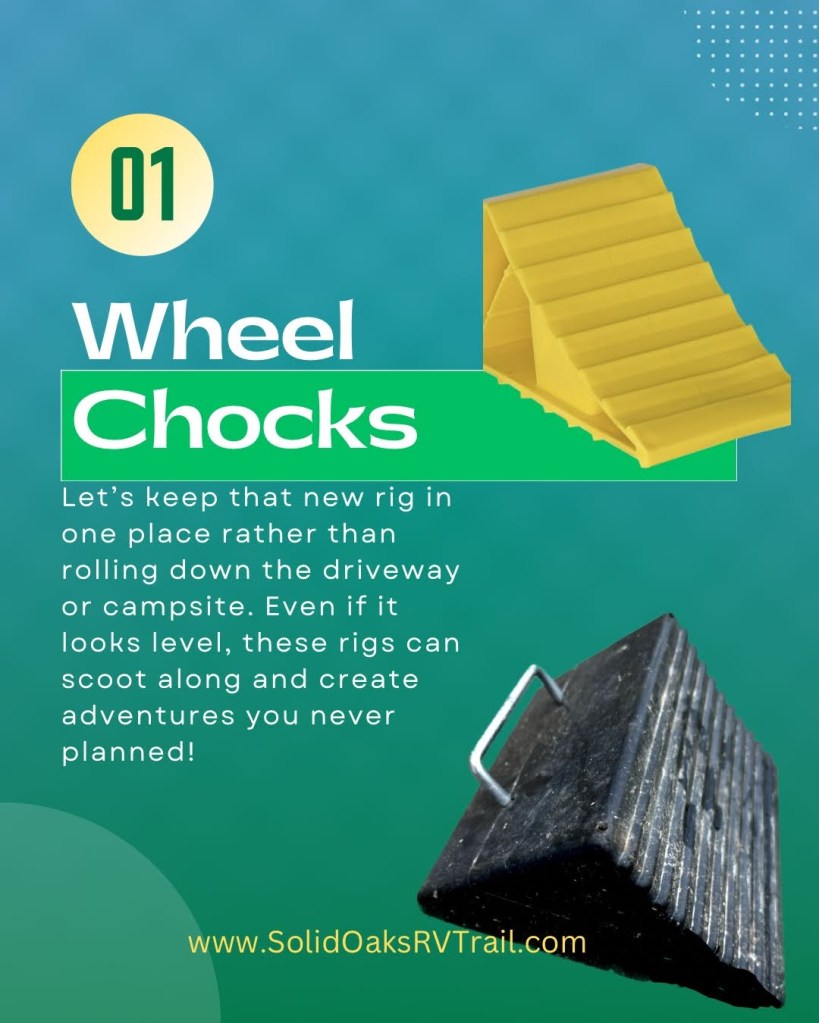
Rubber Wheel Chocks: You need these so your pop-up, travel trailer, class A, B, C, or fifth wheel doesn’t roll where you don’t want it to roll–like down the hill if gravity has other ideas. You might think your driveway is level but you will find out quickly if it isn’t once you get your rig home. We used the yellow plastic chocks for years as an inexpensive option but also note that they come with an expiration date. Ours had long since expired (unknowingly to us) and we cracked one to bits, so we upgraded to larger rubber wheel chocks that same day. Once you have wheel chocks, then you can move up into X chocks or stabilizers to help stabilize your rig even more but those can come later. If we are level we’ll put one on each side of a set of tires. If we are on a slope then the chocks go under two tires in the direction it could roll. Some will say that you need stabilizer blocks or jack pads immediately. We’ve used treated, solid wood blocks for years under our jacks but don’t have a weight issue lugging them around. That would be different if we were full-time. Use something solid you have around to create a barrier (so your jacks aren’t sitting on the wet ground or extended too far) until you figure out what you would like to purchase for later. We have purchased Beech Lane levelers and they help to level our rig from side to side with the tires. We don’t recommend these for beginners. (We’ve been using them for 2 years and I still have to think through how to get down off of them when we leave.) Speaking of leveling, a good 2-foot level, a level on your phone, or the stick-on levelers might be a good idea to know where you stand.
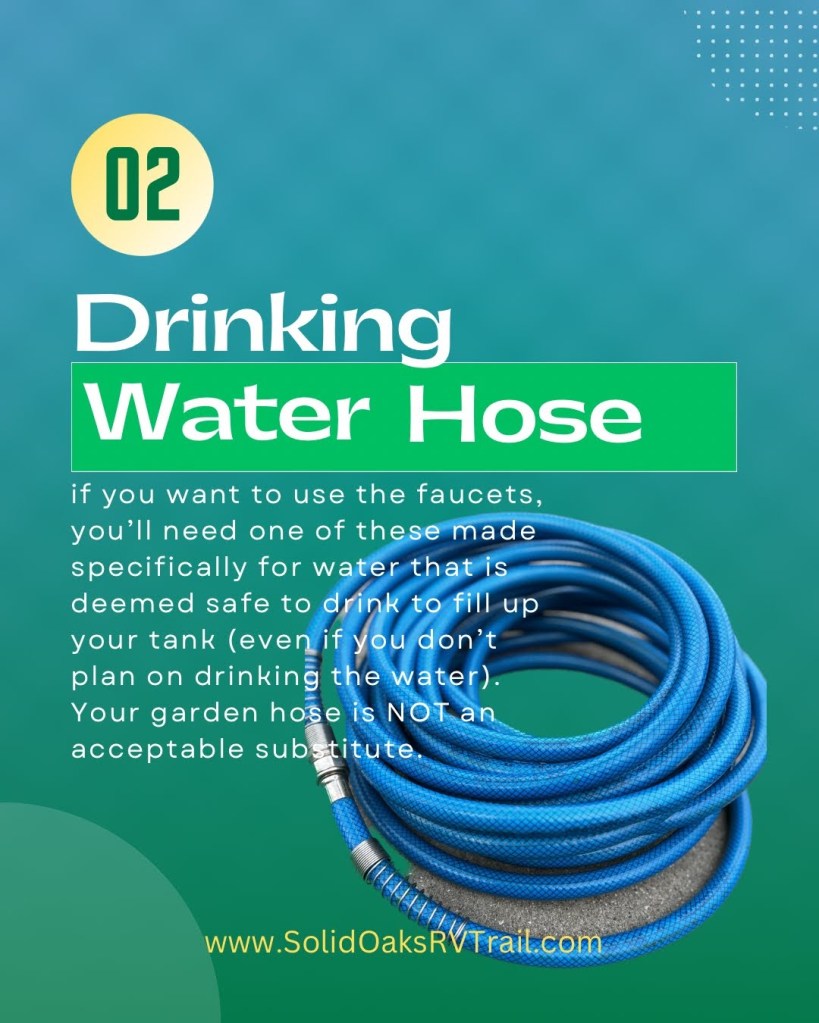
Drinking Water Hose: Could you use any old hose laying around? Yes, but a garden hose is not rated for potable (that means drinkable) water. Do you know what could be growing in it? Yuck. These drinking water hoses meet federal and state compliance for water consumption. As soon as you buy only a 25′ hose, you’ll realize you should’ve bought one much longer at the next campsite. The locations to fill your tank are not always equal. We’ve had to share water with other sites and use the full length of our 50′ hose to get to it. It all depends on if your water is on-site or at a fill station. We also have several other lengths of the white drinking water hose as well. Total combined we’ve gained over 125′ of hose through the years. Let’s be honest: There have been a few times when we ran out of water or parked before filling up at the fill station and had to stretch a LONG way to the next water pump. Water hoses can also be joined with water filters, water pressure regulators, and water filtration systems as well to keep the water the way you want it. We don’t currently have a full-rig water filtration system but we also don’t drink the water we fill up with at the campground.
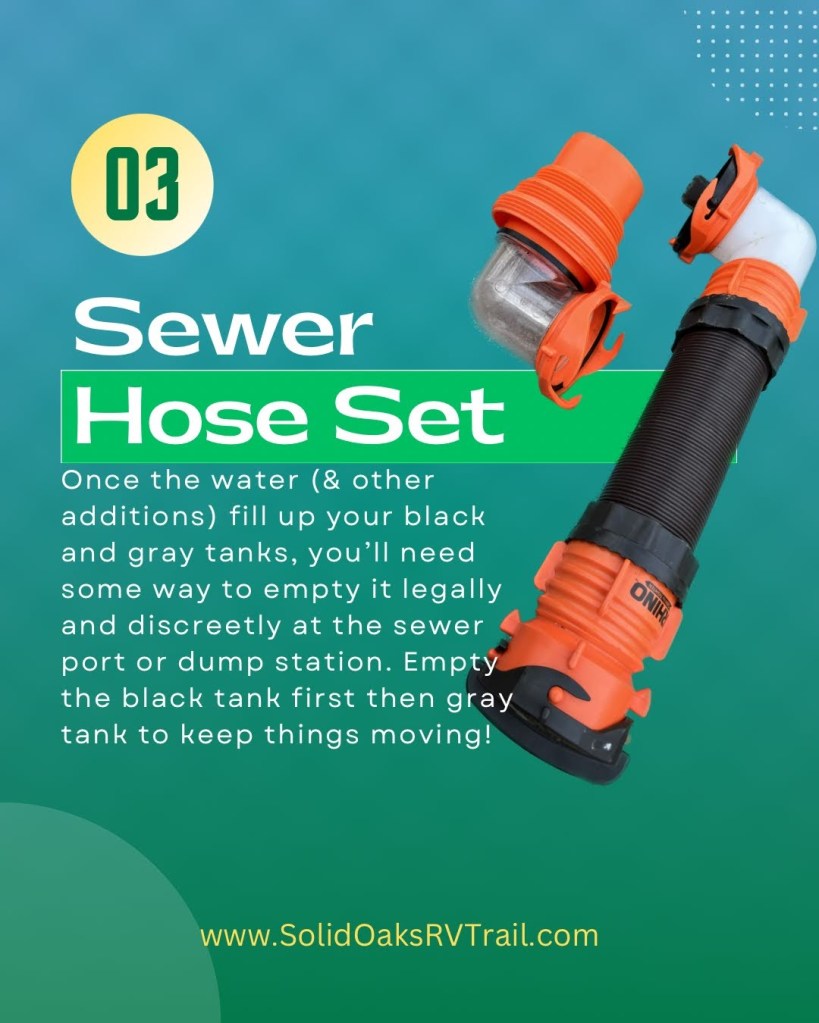
Sewer Hose: If you’re going to be using the water hose and filling up your tanks, you’re also going to need a way to get it back out at the dump station or sewer inlet if you have a full hookup (FHU) site. A sewer hose is not a place to go cheap unless you want to be the next star of the campground with some RV movie vibes. (If you don’t know what I’m talking about, watch the movie clip at the end of this post–of what NOT to do. Ha-ha.) We like the clear elbow so we can see when it’s finished. If you prefer FHU sites, then you should also have a donut to use to keep the area clean and free from smells for your neighbors. The linked product that we use has both the clear elbow and the donut. Keep your tanks closed until it’s time to leave or they are full whichever comes first. Open the black tank first then rinse with the gray water tanks. Also, rinse the hose with the non-potable water provided at the dump station or an old short water hose if you are at a FHU site. Plan where to store your sewer hose if your rig doesn’t have a place in the bumper or underneath already. It should never touch your fresh water hose or other items. We have a tube under our rig (or have made one in the past from vinyl fencing) to hold our hose when not in use. We also use a plastic storage tub for the extra pieces. Do you need sewer hose support? (It holds up the hose to keep it draining in the direction you want.) We’ve never owned one and have been fine, but if you are staying in FHU sites for a while, they could be nice. Most of the places we visit are electric or electric/water only with a dump station.
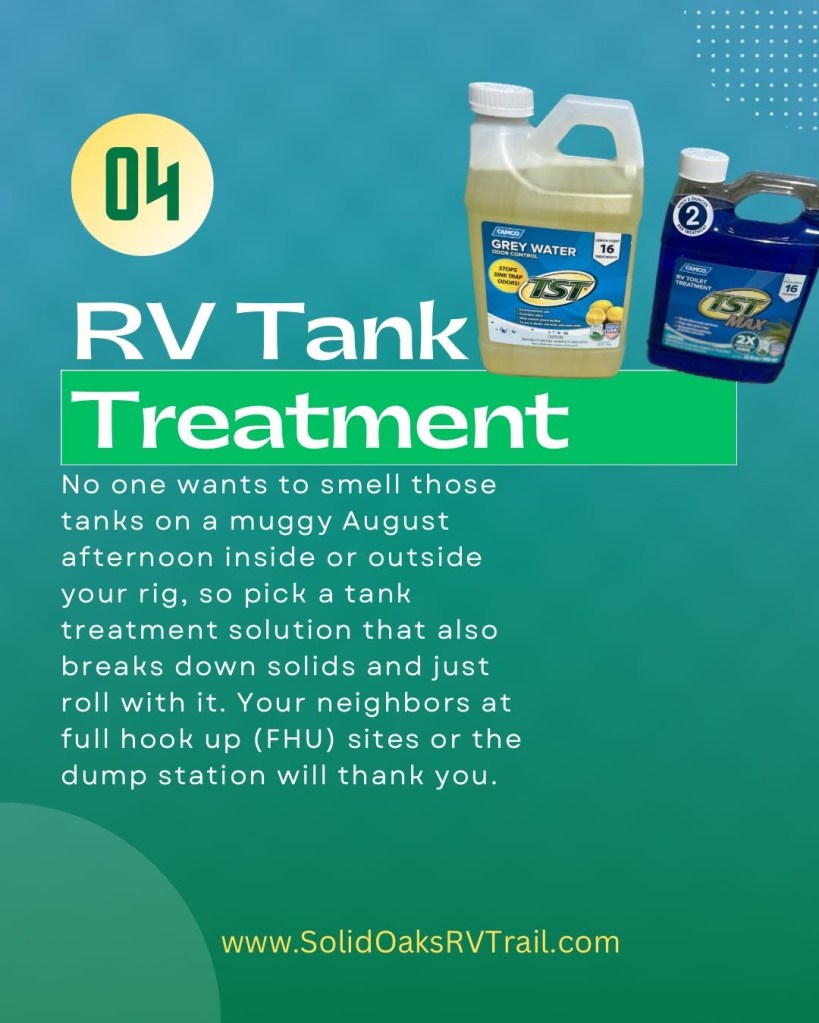
RV Toilet Treatment: If you’re going to use your toilet at all–even if it’s only for the night runs–you need a treatment solution for the black tank to break down the solids and keep the scent masked. Otherwise, on a warm, summer afternoon, you’ll find smells wafting from your bathroom that rival that last dirty diaper or a dead mouse you found. There are all sorts of solutions out there. We prefer the liquid treatment over the packets or powders, but everyone has their own opinions. With 15 years in a travel trailer or fifth wheel, we’ve always been happy with liquid and have rarely had a smell and rarely a clog. We pour it in when we arrive and every couple of days–more often if it’s hot and humid outside. (That tank below the deck is not air-conditioned). We’ve also found that the gray tanks–especially the one to the sink–can smell as bad or worse than our treated black tank. So we’ve started using this gray tank treatment and the smells have been eliminated. Believe us, your neighbors at the FHU site or dump station will be thanking you.
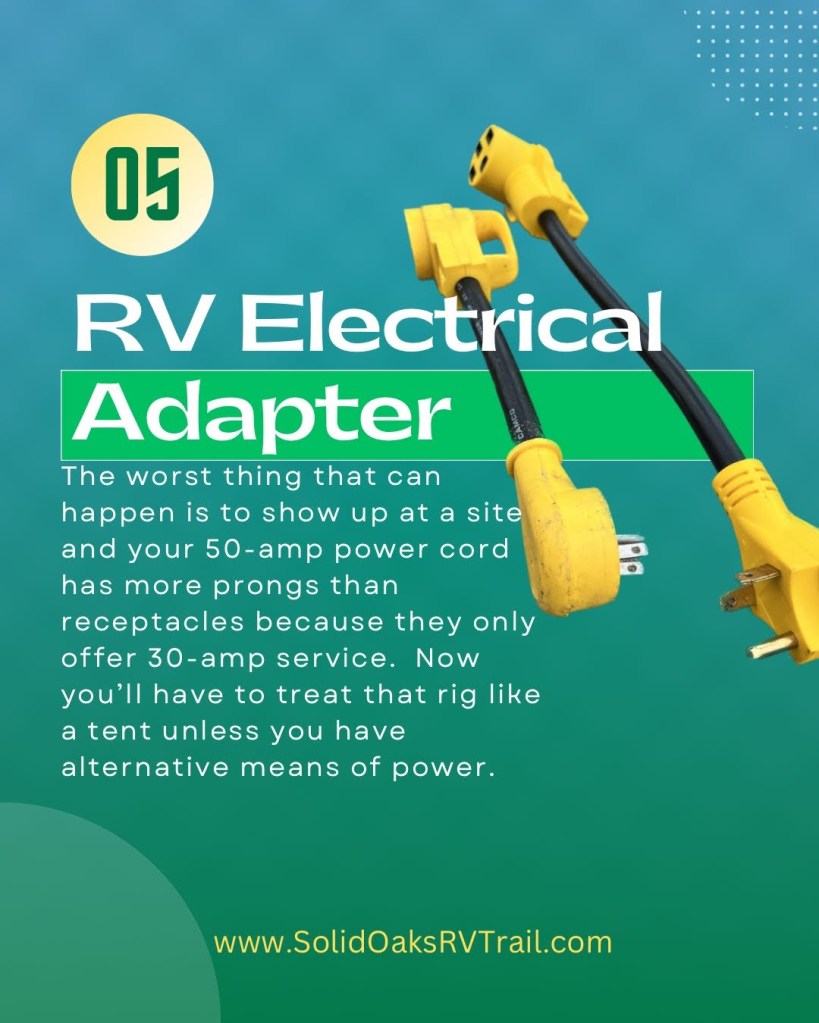
30-amp to 50-amp Adapter: This is also known as a dog bone in RV speak. No, this isn’t a toy for your pet. If you have a 50-amp plug because you have a fireplace and A/C or two A/C’s, then you need to have a way to take your 50-amp plug to a 30-amp plug that is at the majority of campgrounds–at least where we’ve stayed. If you’re only staying in full resorts they probably have 50 amps. You can’t run everything when you use a dog bone so you do have to be careful to not pull more than 30 amps. If you have a 30-amp plug, maybe you want a 30-amp to 20-amp RV adapter so you can connect to your home’s power to run lights or the refrigerator. Most people would probably say that this adapter needs to come after a surge protector, but we needed adapters long before we even thought to use a surge protector. Surge protectors can save your rig from power shortages but they do cost a lot of money. Maybe you need a few months to save up for this purchase and just need to get out on the road. On our last 3 rigs, we installed a Progressive Inline EMS (here’s the 30-amp version). It has saved us on a hot, Michigan July 4th holiday in a county park with low voltage–multiple years. In all of our years, we’ve only had issues at this same park unless we’ve lost power somewhere else, so the likelihood of needing a surge protector immediately is slim. I’ll be frank–our inline EMS is one of the FIRST things we install on our rig but when you have more to purchase and your pocketbook is thin, it can wait. An RV dealer will try to talk you into one right away and stress the importance of it, but it’s also a big-ticket item. If you can afford a surge protector of some kind right away, don’t delay. No one wants their rig fried because a campground doesn’t have the best power grid.
We’ve owned 5 rigs (4 travel trailers and our current fifth wheel). Two of those we bought used and fixed a lot and 3 we bought new and fixed a little. Most RV dealerships have scads of items in their stores that they think we might need. There’s no reason to walk away with a rig full of stuff and break the bank while you’re at it. It takes time to build up all the things you think you need. Get a couple of trips under your belt and decide what’s going to be next on your list. We have a lot of stuff now but that’s after buying all of our items one thing at a time over the past 17 years. We’d love for you to be able to get out on the road and be camping as soon as you can! Take a look at all of the links we shared to the items listed (underlined items) and get that shopping cart ready to go (while you’re watching this clip below from RV)!
If this was helpful, give us a like below or even subscribe to be notified of our posts. We’d love to help as you navigate this wonderful world of RV life! There’s plenty more to come. Thanks for stopping by and don’t forget to check us out on social media or share this article with a friend thinking about RV life as well!
Subscribe for more posts like this

