As an Amazon Associate, we earn from qualifying purchases (at zero cost to you) and may receive a small commission for links to Amazon. Read our Disclaimer Policy here
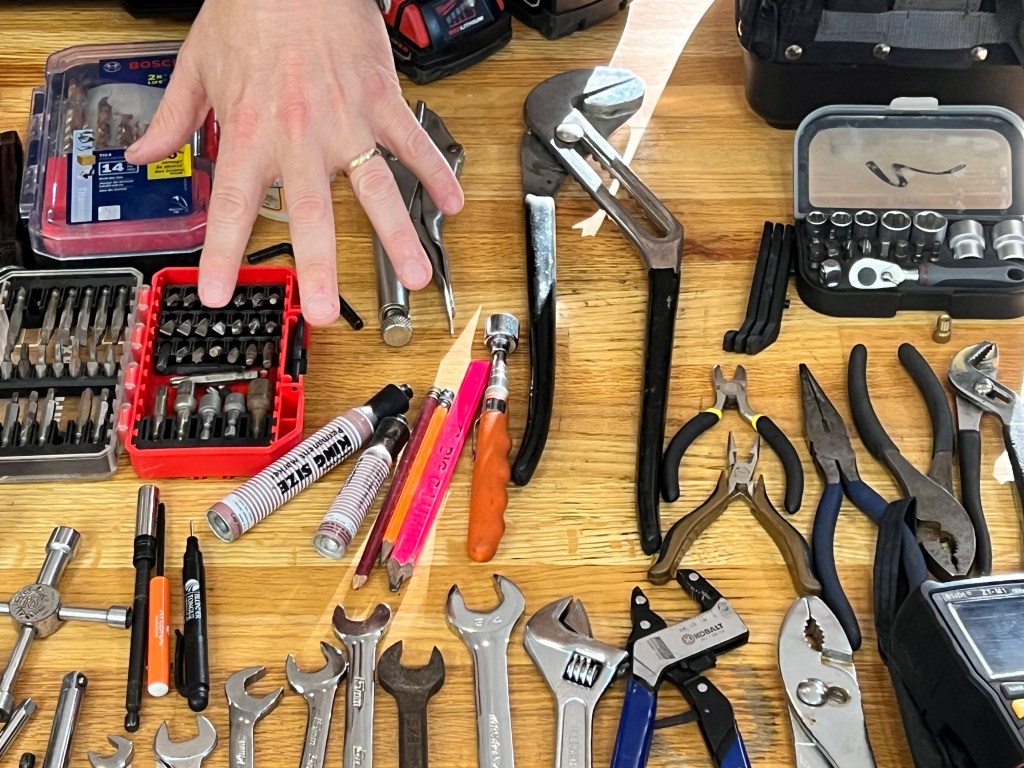
Are you new to camping life? Do you feel like you need tools but don’t know where to start? Maybe you want to be prepared for many scenarios. We’re so glad you’re here and we want to help. While recording a long form YouTube video about tools, I asked Jon what his top 10 tools for camping would be and here’s his list. This is based on almost 17 years of camping life with 4 travel trailers and now our fifth wheel. If you are a tent camper, most of these tools would still come in handy if you can fit them in with your gear. Follow the links for more details of the tools below or if you need a visual image if they don’t immediately come to mind.
We recommend cordless because you never know if you will need them while traveling along the road, dry camping, boondocking, or if the campground loses power. With power tool purchases always check on the warranty from where you wish to purchase them. We’ve started buying the same 12V or 18V Milwaukee brand tools because we can interchange all of the batteries and charge either on our dual charging base. Keep that in mind when you start a collection and research which ones you like best.
- Cordless Drill and Impact Driver: These would be used for scissor jacks, lug nuts, securing RV skirting, or anything else that has come loose while towing a rolling earthquake. Things shake, rattle, and roll. (See #5 to finish off this tool.)
- Battery-powered Work Light: It’s hard to hold a big flashlight in your teeth and you may not alway have an extra pair of hands. Headlamps are nice but may not be bright enough for what you need especially if you’re changing a tire at night or need to see under the rig, truck or hood. This Rover light is super-bright, is magnetic, can turn, and also has a clamp to stick it on a 2×4.
- Battery-powered Blower: We didn’t think this was a necessity at first but we use this tool every single trip to blow off the slides, steps, and glamp mat. How did we start out doing these things? A broom and a kid with an un-walkable roof. Ha-ha. Then we got a ladder and an electric blower. Yet this cordless blower has been the bees-knees since we started using it. Trying stringing a power cord from the post, up the ladder, and across the roof. It’s not much fun.
- Bike Took Kit: If you ride bikes like us on almost every trip and especially if you can be rough with them on mountain bike trails, then you need a bike tool kit. We’ve had as many as 7 bikes in one trip and they are always needing something fixed either before the ride, during, or after. Here’s a bonus tip: We have used a 15mm wrench to remove one pedal to store some of our bikes on the beds.
- Drill Bits and Bit Set: This might be obvious but #1 won’t work too well without these. Phillips, Allen, and slot bits are all types that you might need in different places. You might need to screw a hole in your rig and need drill bits. They are cheaper to buy as a set and then you also have a handy carrying case. These small items can slip through your fingers and hide in toolboxes better than anything else–except that one size screw or nut you need.
- Battery-powered Inflator: We used to take a small inflator but it was only rated to 50-60 pounds of pressure–not enough to fill any of our tires. With this Milwaukee inflator we can pump up any one of our tires to 150 pounds. Note that we also use a TPMS system on our fifth wheel tires and spares to keep track of the temperatures and tire pressure.
- Two-foot Level and Torpedo Level: If you like the little levels on the corners of your rig, then by all means go ahead and use them. With our 37′ travel trailer, we had to have them on 2 different corners because it was so long. We use these levels–especially the 2′ level every time we park by holding it up to the frame to check for level before we unhitch to see if we need to add anything to one side or the other. We’ve also used levels as a straight edge, level the steps, hang a picture, or even level the picnic tables. Yes, that happens often where we camp in state parks. Ha-ha. No need to have that dinner you worked hard on rolling off into the grass.
- Multi-Meter: This can be used to check the pedestal for the correct voltage, trouble-shooting wire connections, power voltage in the rig, fuses, and any other electric current or continuity you need to measure. We’ve had many instances where this has come in handy to check outlets around the rig.
- Hammer and Mallet: These are great for nailing in tent, dining fly, or glamp mat stakes. The mallet is great for making sure those wheel chocks are good and set under those tires. Believe me, you do not want to worry about the weight of your rig pushing you over the edge of that hill on your site.
- Leather Work Gloves and Mechanic Gloves: Jon wears gloves constantly during setup and tear down. It saves his hands from dirt or injury. He can put an extra set under his knees if he has to kneel in gravel. The mechanics gloves are for a fine motor grip–like little screws–or could be a personal preference. I will wear gloves to avoid the mud when setting up or tearing down as well. No one wants to get muddy here but mud seems to follow campers around like lost puppies.
While your list may look different than ours we hope that this list has inspired you to think of things and scenarios to come. We’ve had many instances of things that need to be checked or fixed while on the road and have learned to be prepared for many incidents. If you ever get in a fix, don’t be afraid to ask your fellow campers, most are willing to jump in an help in this community.
Please share this link with your friends or family that may be just starting out and need a good list to get started. We will be releasing an extended YouTube video with many more tools listed in the near future. Subscribe to this blog or follow us on social media. Thanks for stopping by!

