As an Amazon Associate, we earn from qualifying purchases (at zero cost to you) and may receive a small commission for links to Amazon. Read our Disclaimer Policy here
This is our 5th RV and each one has had a problem with shoes. What have we done to solve it? We’ve tried piles inside the door, piles outside the door, tubs outside, baskets inside, awkward cabinets inside, over-the-door shoe holders, and carrying them to our bedrooms. None of these stuck.
Now, let’s be honest. Kids are not the greatest at putting things where they belong—including shoes. So this almost has to be like a game. However, our game is beginning to have fewer and fewer players. That means keeping the RV in halfway decent shape is going to get easier
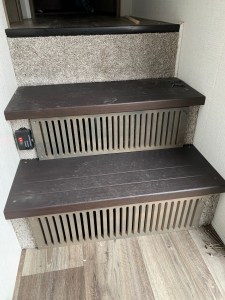
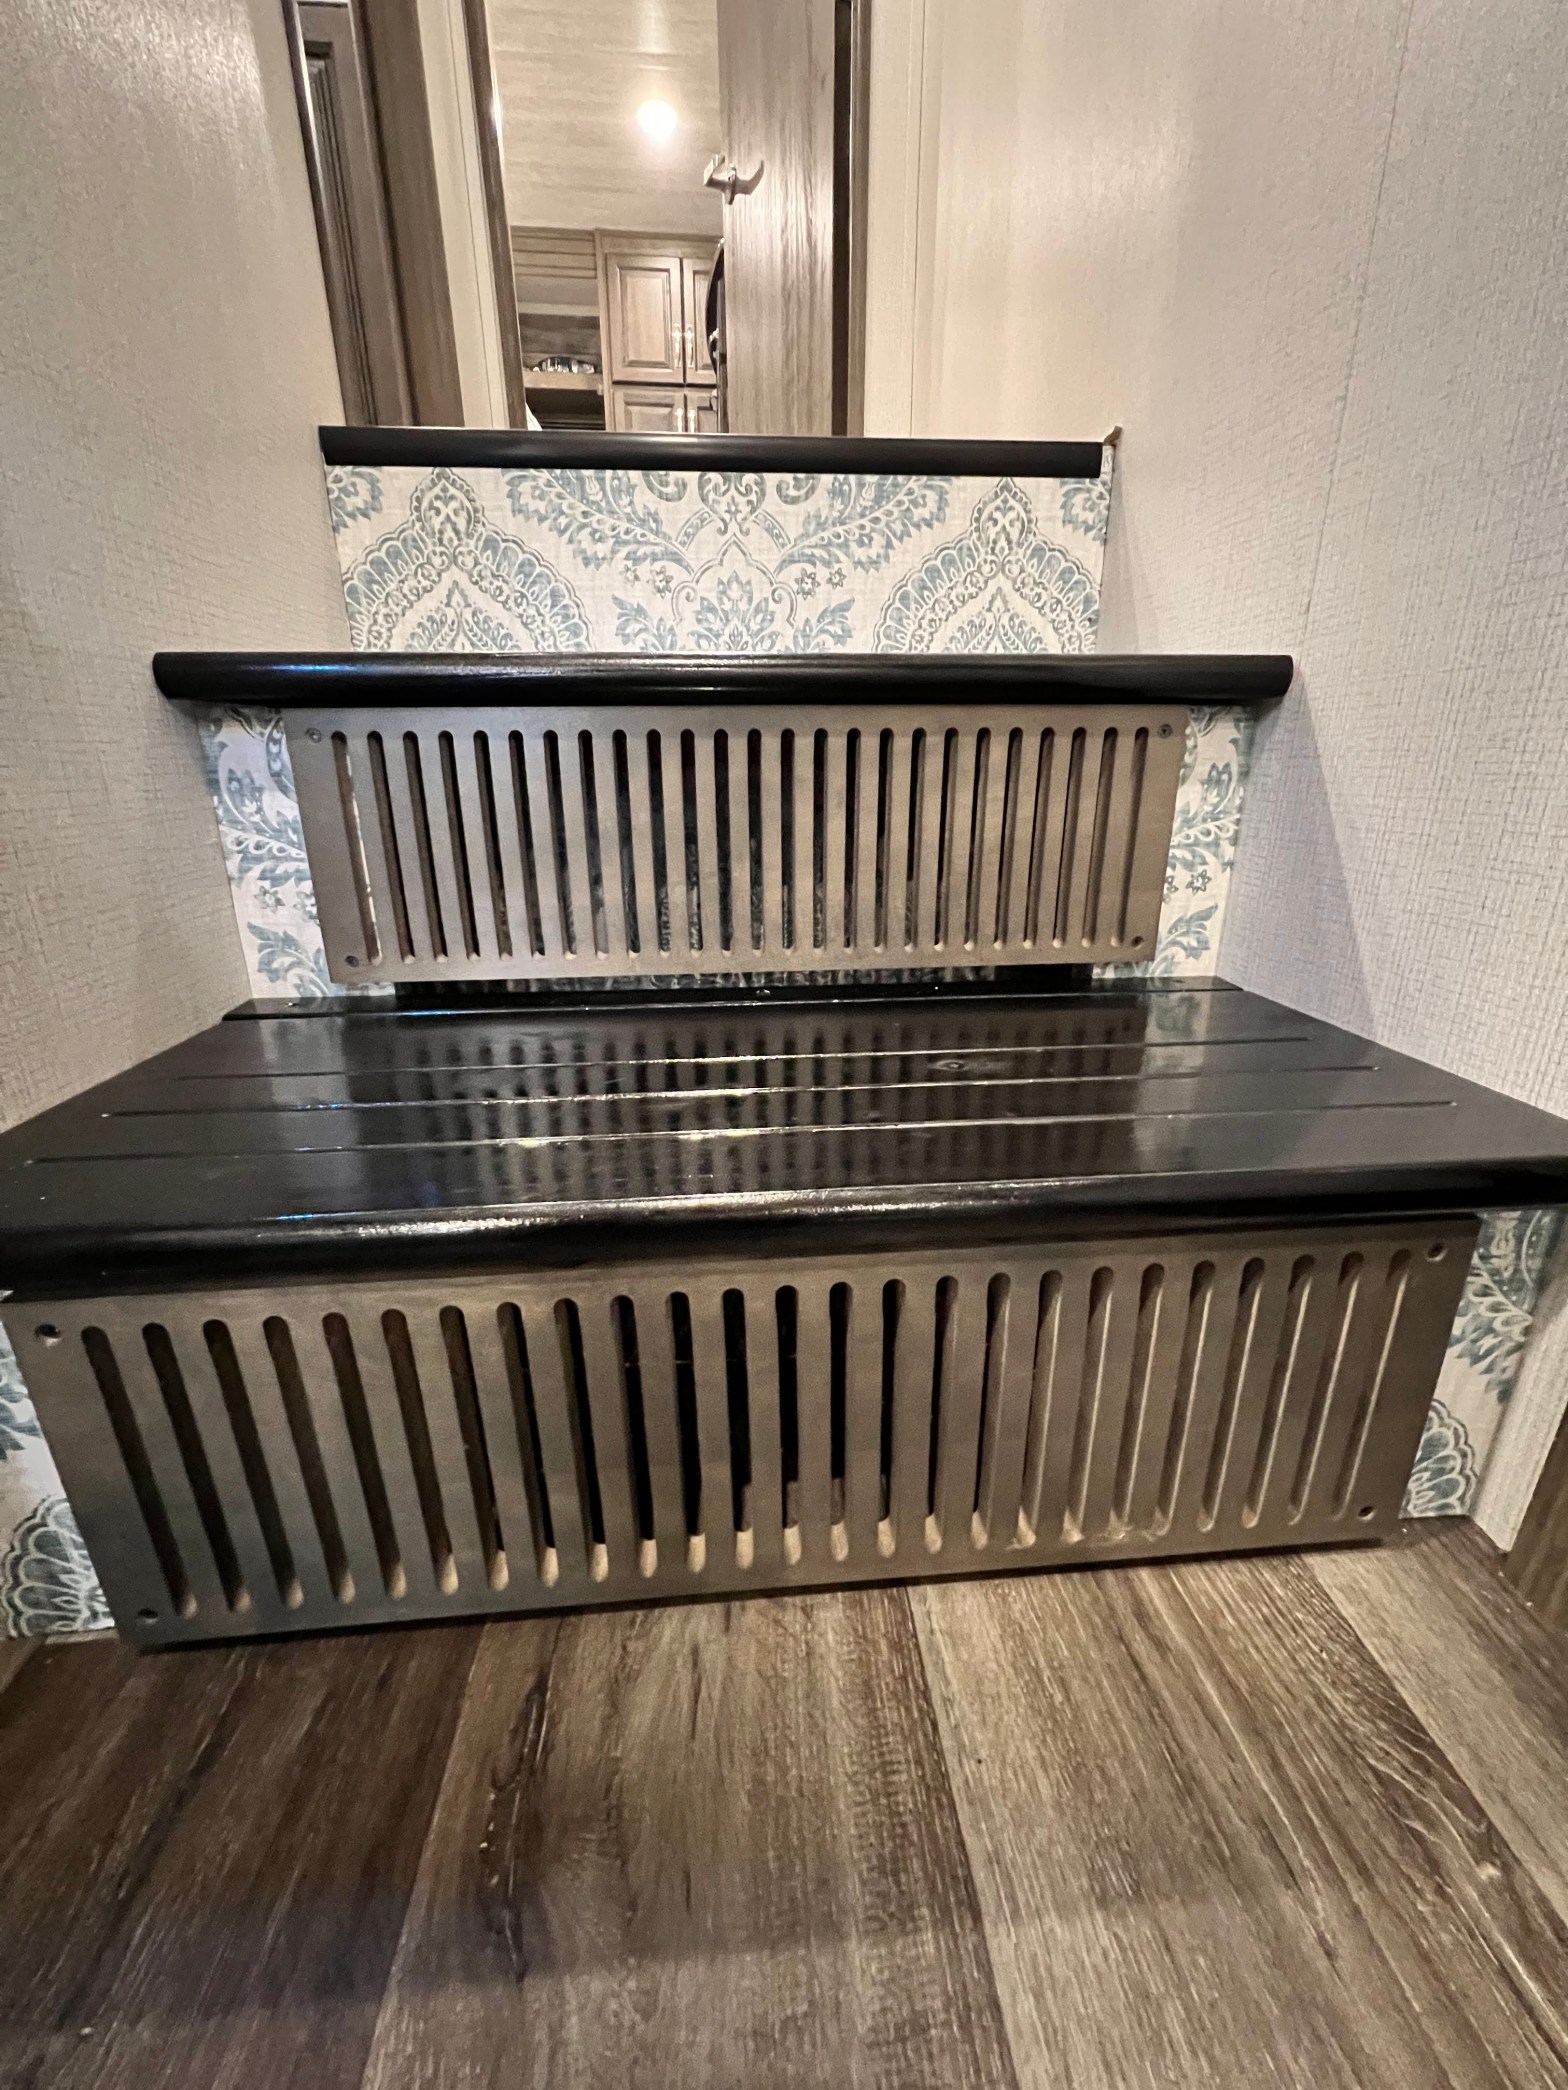
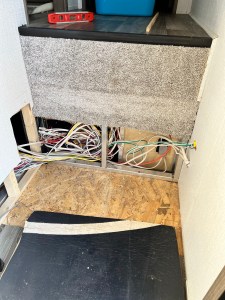
We saw someone in a Facebook RV group remove the furnace return-air vent covers and pushed the wires back to slide their shoes right in. We thought this was a great idea! Unfortunately, our vinyl ended just inside the step once Jon started the demolition process. Who wants to have to match flooring? Not us. We then came up with a plan to lift the steps to put the shoes inside. We went through several discussions and trips to home improvement stores looking at the best hinge and step board options. Finally Jon found some hidden hinges on Amazon that we thought would work and look the best.
Jon started using a camera to record all the steps in the process. A reel on Instagram is too short and I was already getting how-to DM’s just by showing pics of the process in our Stories. A few months later, after winter was done rearing it’s ugly head in Indiana, we finally completed the project.
Items we purchased:
- Three new stair treads from Menards (the 3rd was used to extend the steps with the hidden hinges)
- 4 Hidden hinges on Amazon
- NuWallpaper peel & stick from Lowe’s (Ok–our 1st purchase on Amazon came in as TOO white–so a quick trip to Lowe’s came out even better)
- Minwax Stain & Polyurethane in 1 step
Tools Used:
- Drill or Impact Driver
- Router
- Table saw
- Orbital Sander
- Level
- Carpenter Square
- Scissors
- Pencil
- Foam brushes
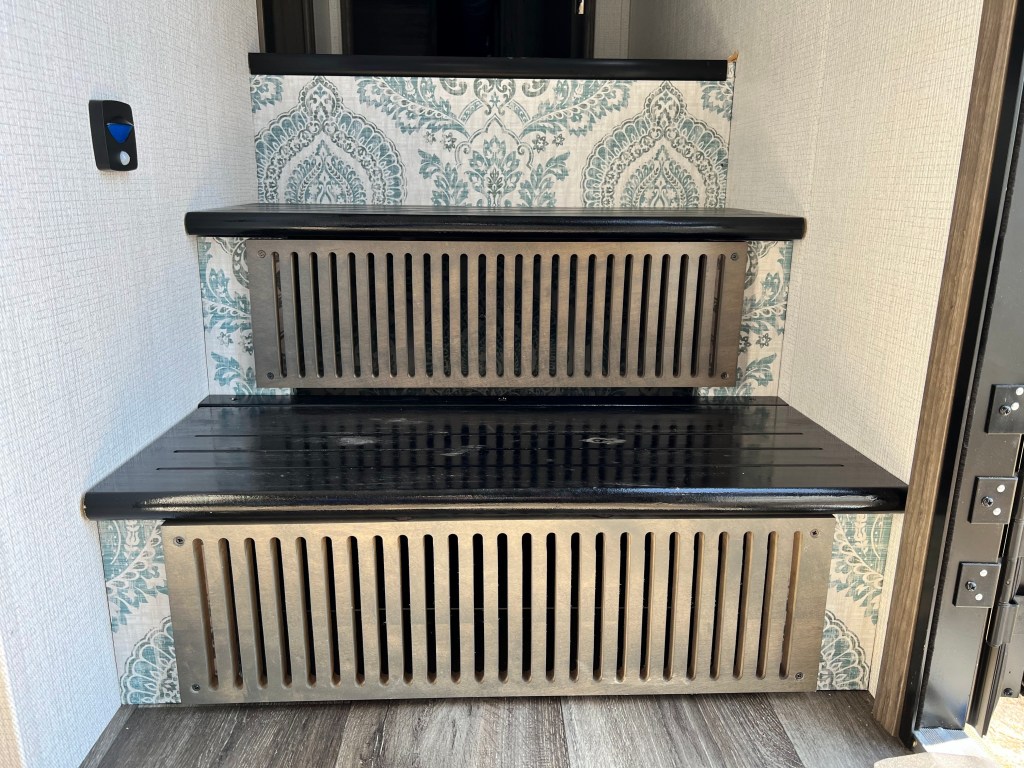
Now these steps can hold all of our shoes that end up right inside our door!
Take a look below at our first YouTube video of the process. It’s only about 10 minutes long. Please give us some grace though! We know we have some things to work on (like our skin color–using a better camera–haha). This side-by-side mode makes Jon happy, while I keep using portrait mode for all things Instagram. Let us know in the comments if this is something that would make your RV life easier.
You can also see it in use in our Instagram reel below.

